
Greetings, my fellow hiker. Today, I am sharing a fantastic hike here in Sedona with fantastic views of the red rocks. If you want some adventure, you can get an adventure. If you want some easy trails, you've also got that too.
Hi, I am Brice, the president of Vaucluse, where we love to sweat less and explore more. Today I'm sharing what I call the Diving Board trail. Follow along, and you will learn where this trail is, what to expect, and some of the equipment I used.
Hiking Trail Review - Diving Board - Oak Creek Village, Arizona
The trail is south of Sedona. You drive south on the 179 and enter the town of Oak Creek Village, and then you take a west turn (left or right), depending on which direction you're coming from). You turn on Verde Valley School Road. After just a few minutes, you'll find a parking lot where surprisingly, there aren't many cars parked. So if you're looking for a place in Sedona where there are not many people, and you want to avoid those rushing the tourists (there can be loads of people visiting Sedona), this is the place to go.
You can see the map on the Forest Services website by clicking here.
You can see the map on AllTrails by clicking this link.
The closest trail name that I found was called Made in the Shade. I did not take this trail, but in case you're looking for a reference for where to find this trail, the trail I took is next to Made in the Shade. I did not find names for these trails that I took. Please let me know if you find them (leave a comment below). So we took a trail right off the parking space, so accessibility is great. It's an easy trail for the first part. I'm breaking down the hike into four parts.
Part one is straightforward. So if you just want to hike and enjoy the views, take this and stay on the trail. The elevation, in the beginning, is probably only 500 ft, so not a lot, and you get some great views instantly. We were hiking within 15-20 minutes, and you got some great views. So that's part one. It is a straightforward hike east, but you start climbing up the rock formation.
Part two is you've got the rock formation in front of you, and you have an option. You can either go east where I'm going be taking you. This direction starts to get a bit more difficult, and the incline is about 1,000 ft. Or you go north (it then curves back east) another way around the rock formation. It's much, much easier and much more comfortable. My wife chose not to continue the difficult path because her shoes weren't the best. So she took the easy route. Nothing wrong with taking it easy if you don't have the right equipment. You don't want to hike near steep, sharp cliffs. I'll show you the pictures. So if you're just looking for something that's just moderate, easy, fun, great views, then take this alternate route.
You can see the path on Strava by clicking this link.
Part 3 is climbing up to the diving board (and 1,000 ft). As you can see from the pictures, it gets a little dicey. Some people might not call this dicey. I was feeling a little uncomfortable at times. Nonetheless, it's not for everybody. It's a bit challenging, but you get some great views. There are two diving boards: a normal one and a high-high diving board, and you can get some great views from both. Again, you have to be doing some climbing. If you don't have arm strength or want to use all fours (hands and feet), then don't do this. It’s a lot of fun if you do.
Part four is walking back to the point of the fork. Again, it gets a bit difficult. There was a lot of rain in the past week, so the trail was slippery. There were loose rocks everywhere. If you come to Sedona or this part of Arizona, you will see that there are rocks, and sometimes you can slip around, so you have the right equipment.
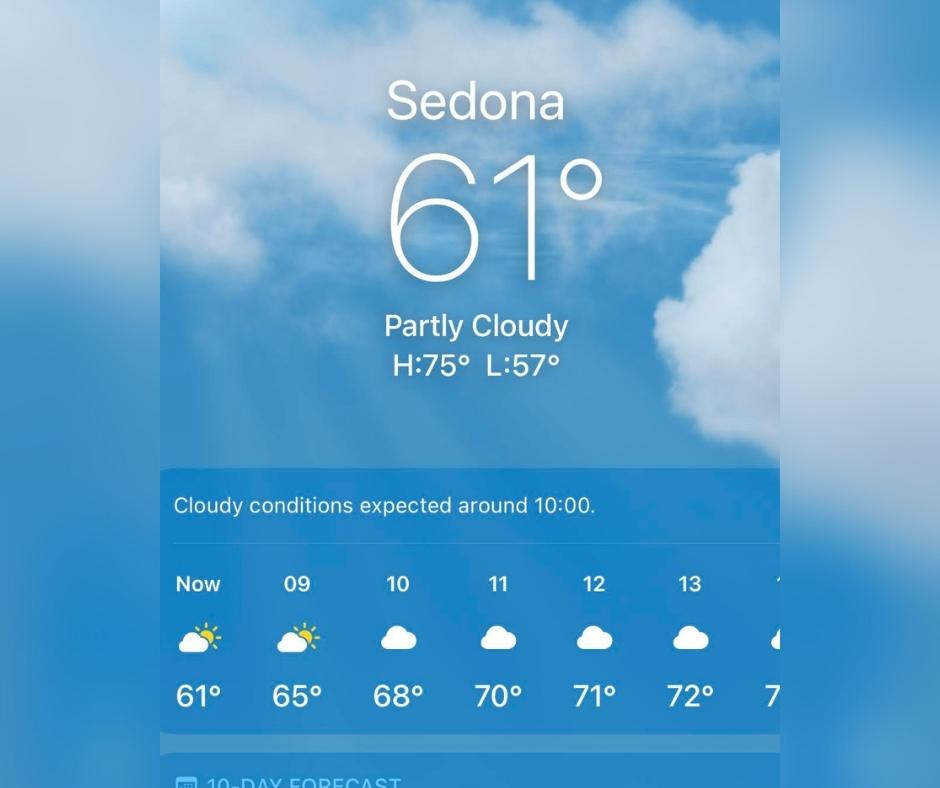
Overall, the conditions were low sixties to seventies: fantastic weather. Humidity was in the mid-forties. The total distance hiked was 3.54 miles. The time hiked was just around two hours and 27 minutes. The elevation was 1500 ft if you do the whole thing. If you want to go the easy route, it's only 500. It wasn't that exhausting. But then again, it was a hike.

Backpack Airflow System - Sweat Less in Arizona Heat
I want to share some of the equipment I used. First, I came with my pepper stick. So if you want more security when hiking, we'll check out the Pepper Stick. It's pretty much a hiking stick with a pepper spray capsule right here in the handle. So if you find something attacking you, you flip it on with your thumb, aim, and spray. Very helpful.
The other piece of equipment I had was the Cool-Dry Frame, which I attached to this backpack. It's simply a dual frame that you attach it to any backpack in seconds through the loops right here. What happens, as you'll see in the pictures, it allows the backpack to be a little bit off your back. Some say, “Well, the backpack should be completely on you.” That is correct. The backpack should be on you as best as possible. But when the backpack is entirely on you, it covers your back. When your body temperature is rising, and your body is trying to sweat, evaporate, and dissipate the heat, it can't because you've got something on your back. And so the question is, what the heck do you do?
Some people just loosen their backpack straps and have the pack sag. That way, they get a little bit of relief. Great. You can do that. However, you're now wearing your backpack the way you shouldn't be, and you might cause yourself an injury. It's not a long-term solution to be doing that. If you have the Cool-Dry Frame attached to your backpack, the backpack is as close as possible to your back, constantly allowing a little air gap. So, when your core temperature increases, the heat continually evaporates.
You don't have to loosen your backpack straps ever, you don't have to be taking your backpack off. You've got a better solution for wearing a pack. This is a great solution for you if you tend to sweat more, have a higher core temperature than most people, or just don't like sweating. If you love the outdoors and want to enjoy it a lot more, check out the Cool-Dry frame. The link is right below.
Thank you so much, and see you on the trails.
- Weather - Overcast at the beginning. Then sunny. Low 61 F and high 70 F. Humidity was in the mid-40s. (Full overview)
- Time on trail: 2h27
- Distance around 3.54 miles.
- Elevation gain was 1,531 feet. (Option for 500 feet)
Strava Tracking: You can review the hike's stats on my Strava account by clicking here.
AllTrails Tracking: You can review the trail on my AllTrails account by clicking here.


